For about that past month and a half, I've been a little bit stressed out with a job I was applying for at work. My parents had always made the mistake when I was growing up by bribing me with a certain amount of money for every "A" I had gotten on a report card. So now, whenever I do something good or have a accomplishment, I feel like I need to be rewarded....
So I played my favorite game with Mr. Husband. It's a game I like to call "Let's make a deal". One night I said to Mr. Husband, "Mr. Husband... if I get this job, then I get to buy/make stuff to decorate my officle (office + cubicle) "D" style". After little convincing, he agreed, but I still needed to get the job...
Well................................... I got the job, and I'm beyond excited :)
Here's the plan... some Amy Butler fabric, fake Peonies in a vase, a rug, some picture frames, a wall organizer if I can find some cubicle hooks, a desk organizer, and a tissue box ...
Of all things, I opted to start with the Tissue box :)
I always want to have tissue at my desk, but I think the boxes they come in are just so ugly. I admit, they are now trying to make a effort with different designs on the boxes, but they're still just dreadful. Right now, I just use napkins from our cafeteria... can you believe that?!?
Anyways, I started with a tissue box just to make sure I had the right measurements.
 I was originally going to mod podge scrapbook paper on a plastic tissue box cover (assuming I could find one), but then I thought "why don't I just sew it with some thick interfacing?". So I picked out my fabric. I had already picked out some Amy Butler and Heather Bailey fabric for my officle rug redo (next post), but wanted some coordinating fabrics too... so I picked up the big polka dot fabric (Amy Butler) and then a damask-ish fabric that I've had my eye on FOREVER from Hobby Lobby.

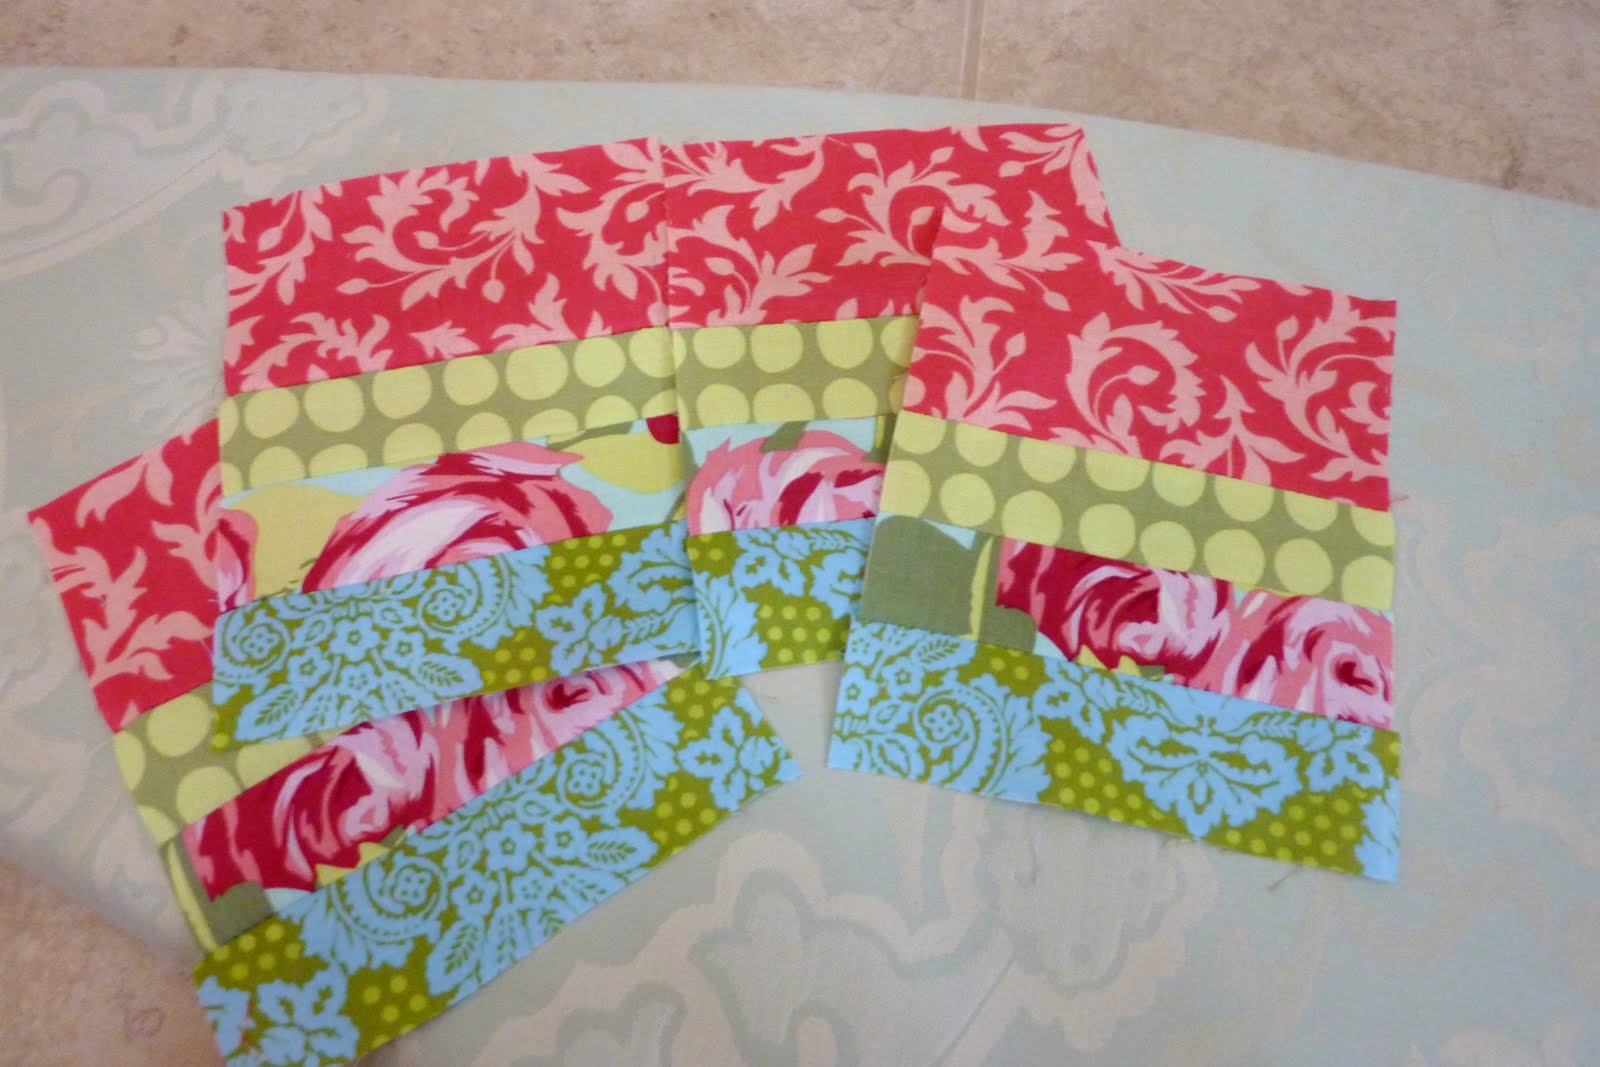
Then I cut three of the fabrics to a one and a half inch width, and the top fabric to a two inch width (4 of each).

Then sewed the four strips of fabric together, so I would have four sets...

Then I pressed the seams down so they wouldn't bunch up so much...

and now you have your four sets you're almost ready to sew together.

Then I measured the interfacing, and had it just a smidge bigger than the sides of the tissue box.

This part was kind of tricky... I ironed on the interfacing to the first side, and then lined all of the sides up when ironing on the interfacing just to make sure they all matched up to each other.

For the top of the box, I ironed on the interfacing and then used a template to have a decorative opening for the tissue...

Then I sewed all four sides to the top...

pinned together the sides and sewed them together...


Now here is where you hope all of your sides match up... I'm still practicing how to sew straight lines, so the mere fact that I even got to this point still amazes me. I only had one side that was just a little bit off :)

And now for the best part... flip it inside out!

I loved it, but was still wanting a pop of turquoise, so I added this turquoise trim with a few rhinestones here and there... and here's how it turned out!


How fun is the top!?!

The best part is, whenever the tissue runs out, you just switch out the box... no more ugly tissue boxes for this girl!

Linking up to CSI's Turquoise challenge!


 I then used witch stitchery again to bond together the ends of the fabric strips together at 45 degree angles...
 I then flipped over the outside (with the sides together) and ironed it down with the stitch witchery stuff (yet again). One more flip of the entire rug and I hot glued the fabric to the underside of the rug.
 And here she is in the officle :)
 My officle is almost as awesome as my Scrapbook room, sigh :)
 I then used witch stitchery again to bond together the ends of the fabric strips together at 45 degree angles...
 I then flipped over the outside (with the sides together) and ironed it down with the stitch witchery stuff (yet again). One more flip of the entire rug and I hot glued the fabric to the underside of the rug.
 And here she is in the officle :)
 My officle is almost as awesome as my Scrapbook room, sigh :)