Here's my inspiration for this space... I had actually starting painting everything already, and took a break to go window shopping over the weekend. When I walked in to Pier 1, I just about had a heart attack. When I saw this table and chair, I knew exactly what I wanted!!
 Isn't it to die for!!! I wanted the blue so bad, but went with white instead just because I knew the room I was working with needed to be lightened up a bit.
Here's what I had to work with. I bought this desk off of Craigslist almost 3 months ago for $10. I hope I'm not the only one that buys stuff and thinks "someday I'll get to that desk, or chair, etc." I'm kicking myself right now, because I also bought a chair from the thrift store for $9, but forgot to take a picture of it! Imagine a bar height chair with pretty curves.... yum yum!

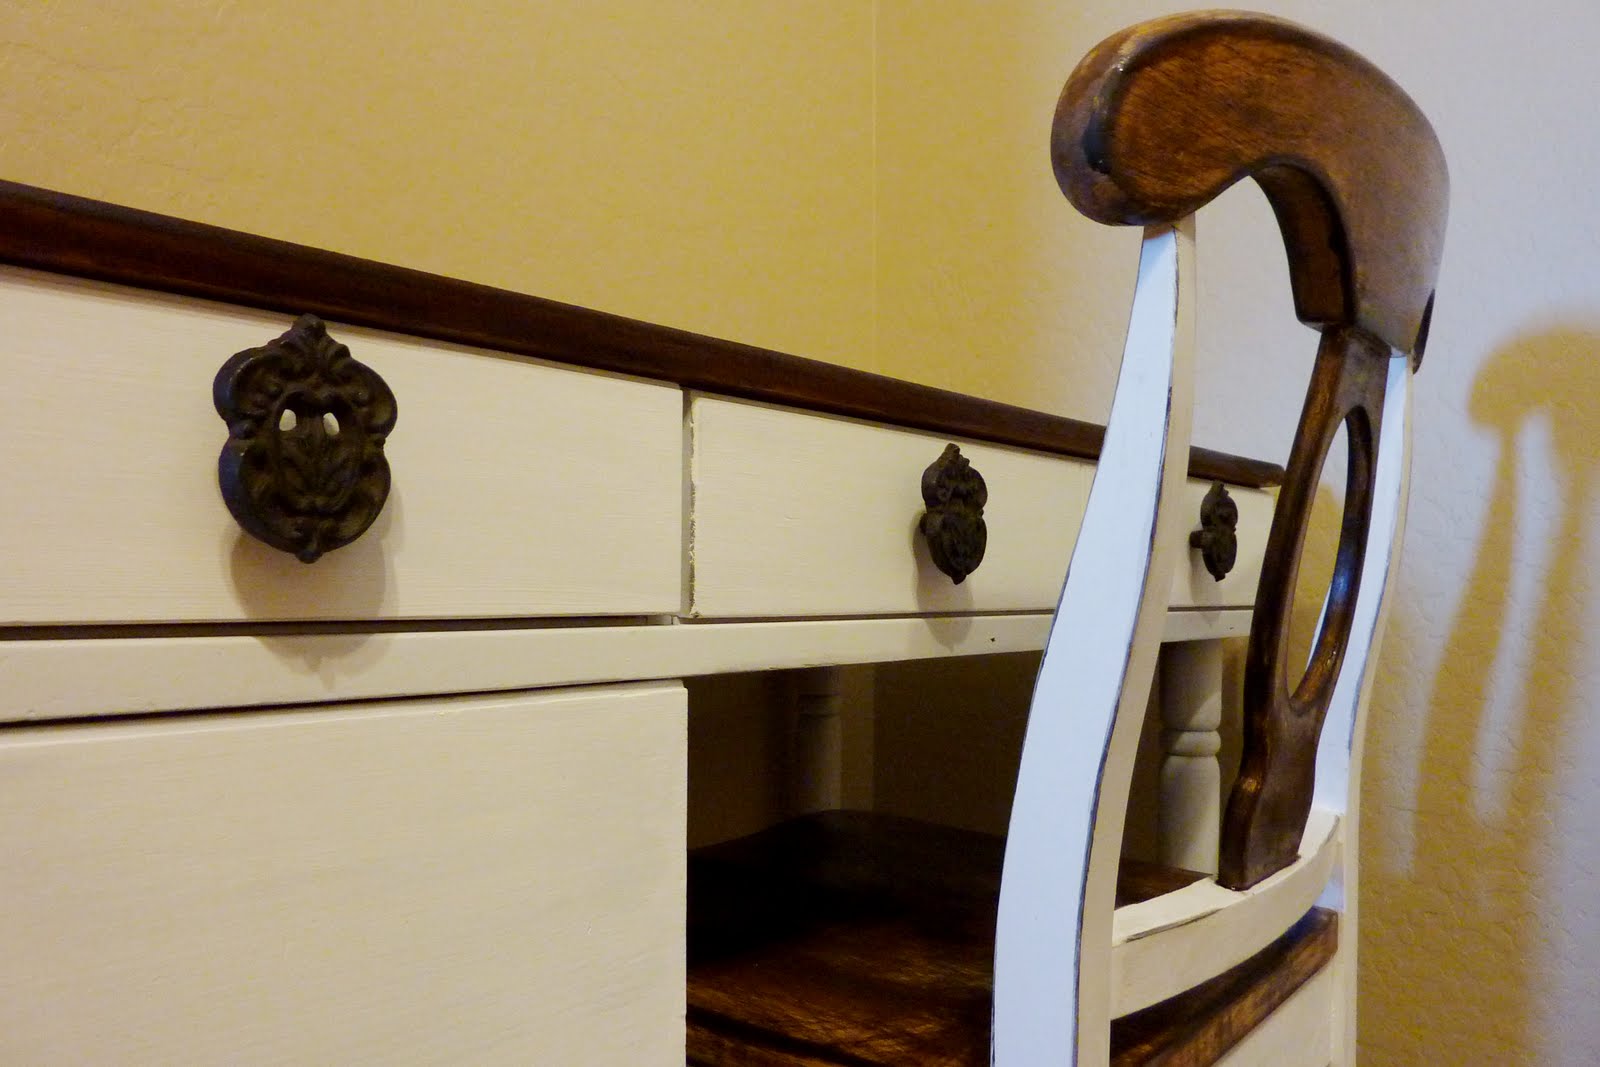
After a full day worth of sanding and painting (because remember, I basically had to start from scratch after I saw the Pier 1 set), and sawing the legs off the chair to make it the right height, here's out she turned out...

I was really going for a super distressed look with the chair. I learned some cool stuff and some not so cool stuff when it comes to distressing! I'll have to share in another post...
Thank goodness for Hobby Lobby and their half off knobs! They worked so well with this desk!
Thank goodness for Hobby Lobby and their half off knobs! They worked so well with this desk!

 Then it was time for some accessorizing :)
 First, I wanted to make a seat cushion similar to the one on the Pier 1 chair, but a little more shabby. I've quickly learned adding burlap can give that effect real quick :)
 I had this lamp in my Craft room, but spray painted her with this blue (forgot the name) and covered the lamp in burlap (NOTE: I won't be using the lamp... I'm pretty sure the burlap won't take the heat from the light bulb too well. I know from personal experience!)
This is also the first wedding picture that I've used in the entire house... lol ... I'll have to get to that soon!
 Because this room is getting a entire re-do (later post:) ), I knew we weren't going to be using Mr. Husband's Ikea painting from his college days...
 so I recovered it in some of my (favorite) leftover fabric from the "Script the Chair" re-do. I only used double sided tape, so if we ever want the picture again, it would be super easy to take off(but I don't anticipate that happening). I also made my own version of the book paper wreath after seeing so many awesome versions in blog land!

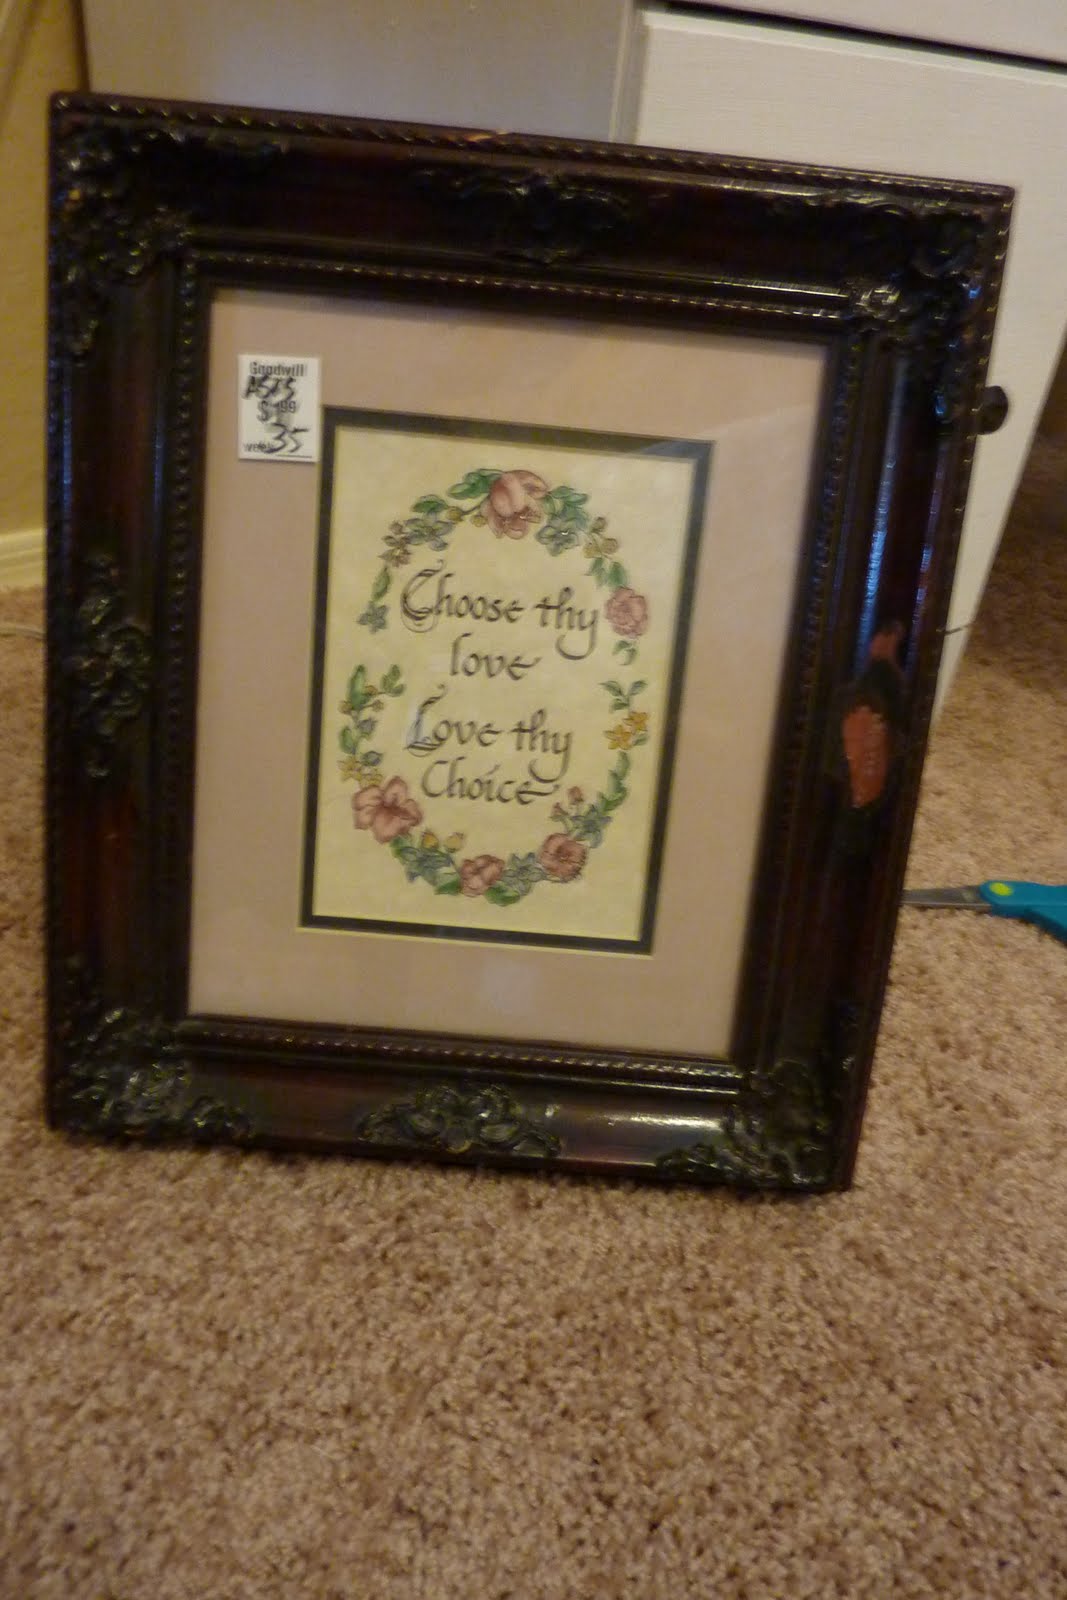
Picked up this frame for $2... I knew it had some potential.... the magic of spray paint!
 The tea canister was a fun find at Marshall's... only $.70 because it was missing the lid, and I didn't need it anyways!

One more before,

 Because this room is getting a entire re-do (later post:) ), I knew we weren't going to be using Mr. Husband's Ikea painting from his college days...
  so I recovered it in some of my (favorite) leftover fabric from the "Script the Chair" re-do. I only used double sided tape, so if we ever want the picture again, it would be super easy to take off(but I don't anticipate that happening). I also made my own version of the book paper wreath after seeing so many awesome versions in blog land!
Picked up this frame for $2... I knew it had some potential.... the magic of spray paint!
 The tea canister was a fun find at Marshall's... only $.70 because it was missing the lid, and I didn't need it anyways!
One more before,
and After!

Linking up to CSI's Back to School Challenge, and Thrifty Decor Chic's before and after party!


Linking up to CSI's Back to School Challenge, and Thrifty Decor Chic's before and after party!