Here's another question... does everyone's weekend start out like this?

Tori (my car) and I have had some pretty funny adventures in bringing home furniture, but this is the first time I've given her a hat to wear on the way home :) I was seriously texting my childhood bff, laughing, asking her to ask her husband (who use to be a DPS officer) if I can get pulled over for this stunt. Fortunately he said I should be fine.
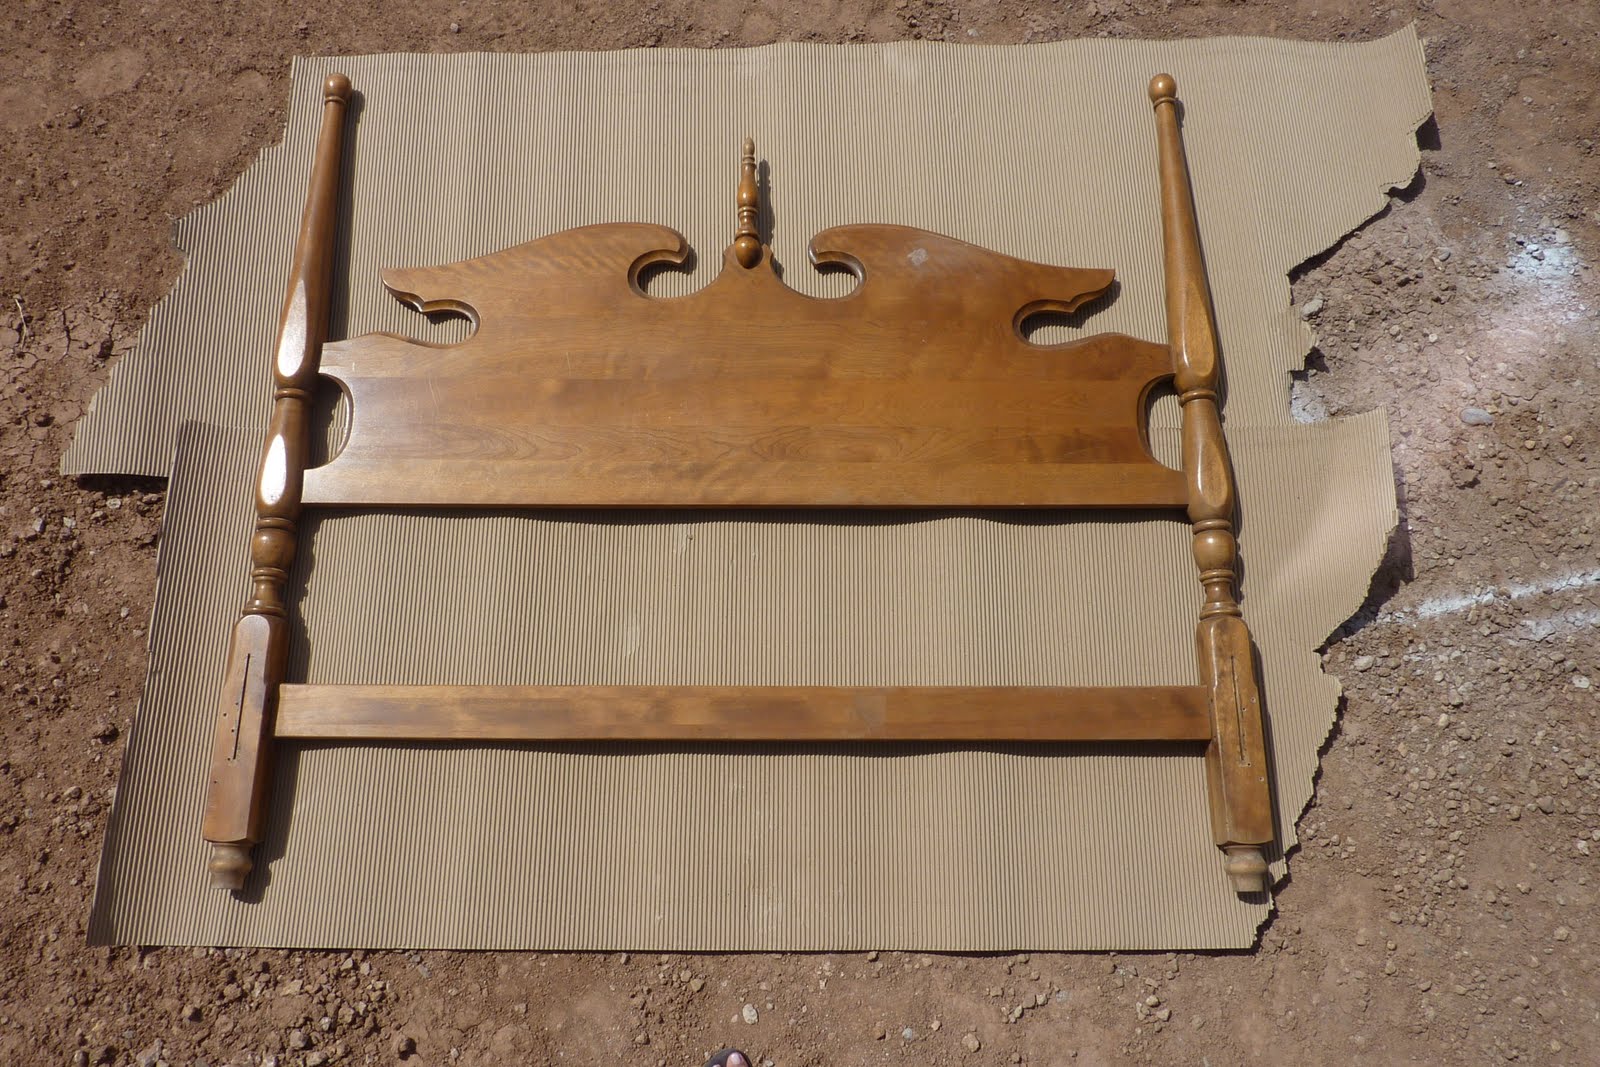
Now, the best part of any furniture redo.... The before picture! By the way, the head and foot board were only $20... way happy with that price!
 Real quick....one more question... Is everyone happy that football has started? I am... because now I can do crafts in peace while Mr. Husband eats leftover apple cobbler, and watches football : )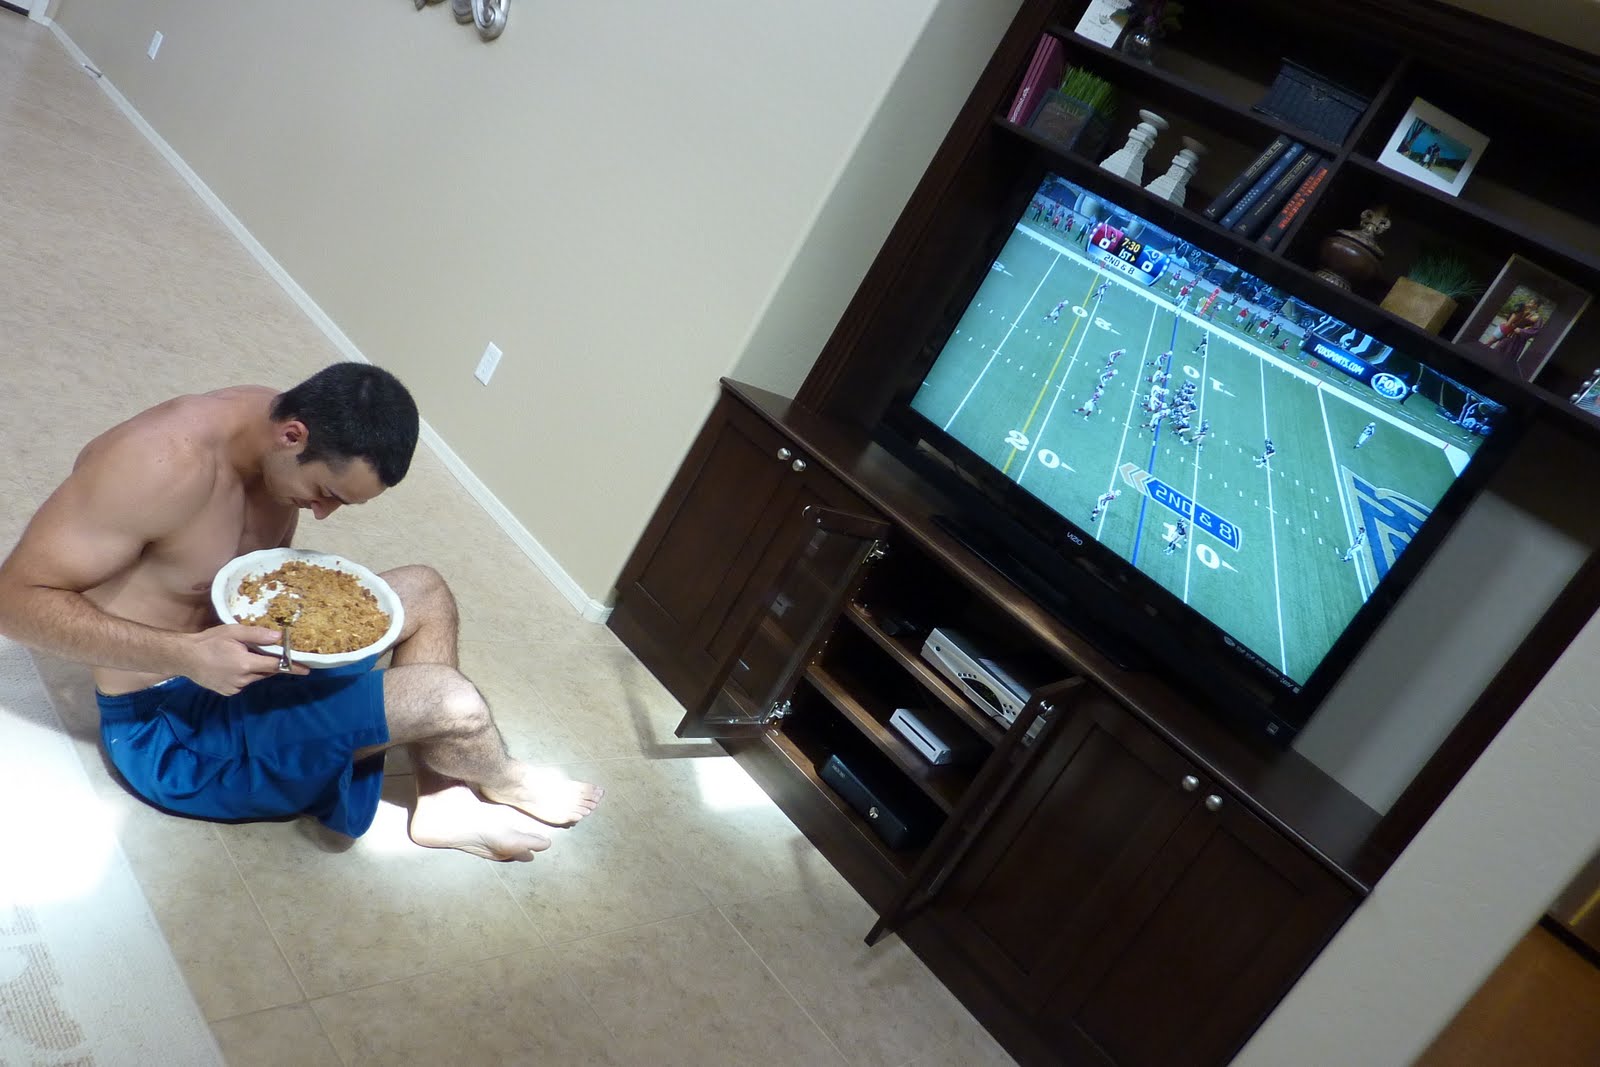
 Sorry... I had just had to snap a few pics while the headboard was drying!
 Here's the new headboard after she was done drying... I love love love the curves of the headboard, but it was still needing a little something... Luckily, instead of spraying directly on the dirt (in my spray paint field) like I usually do, I had put some cardboard stuff down first. This ended up giving me the perfect template for a "semi" upholstered headboard!

I basically just cut around the outline of the spray paint to start with the template...
 Then outlined where I would want the upholstered part to go. I free handed half of it then folded it over, just to make sure it was symmetrical.
 "The Test". I'm normally in a rush to do things, and just do them on a whim, but lately I've found if I take my time, everything usually looks and works out much better.... What a concept right?!?!?

Then instead of using a type of thin wood to upholster, I ended up using a white styrofoam poster board. I was a little skeptical myself, but it ended up being super sturdy, and way awesome for one of the next steps... Also, you don't need a jigsaw to cut through the curves, not to mention this stuff is a little cheaper, and less messy than wood : )
 Then I taped the poster board pieces together, traced the outline, cut, and ended up with this!
 I had also decided that I wanted to have a "tufted" look... so I marked the circles where I wanted the tufting to happen...
 then added a couple layers of batting...

Then laid down the fabric with the marked side of the board facing up, and started stapling! But it was worth it, because I ended up with this! Don't worry, I fixed those wrinkles...
 Here's the cool part about using styrofoam poster board as opposed to wood... For the tufting, it was as easy as sticking a needle through the board to tuft instead of having to drill holes through wood...
 After the tufting and a little bit of glue, here she is! She's not ready for her new home just quite yet though.

She'll be going in the guest bedroom. Also, remember the idea for the pantry walls stemmed from not wanting to paint? Well that idea went out the window real quick when I realized I wanted to paint one wall in the guest bedroom... and Mr. Husband gave me the okay. He said as long as I don't touch the kitchen or living room, I can do whatever I want... So I agreed I wouldn't touch the living room for a couple months :) I'm seriously so excited with the idea I have in my head for the room, that I'm squeading!

I basically just cut around the outline of the spray paint to start with the template...
 Then outlined where I would want the upholstered part to go. I free handed half of it then folded it over, just to make sure it was symmetrical.
 "The Test". I'm normally in a rush to do things, and just do them on a whim, but lately I've found if I take my time, everything usually looks and works out much better.... What a concept right?!?!?
Then instead of using a type of thin wood to upholster, I ended up using a white styrofoam poster board. I was a little skeptical myself, but it ended up being super sturdy, and way awesome for one of the next steps... Also, you don't need a jigsaw to cut through the curves, not to mention this stuff is a little cheaper, and less messy than wood : )
 Then I taped the poster board pieces together, traced the outline, cut, and ended up with this!
 I had also decided that I wanted to have a "tufted" look... so I marked the circles where I wanted the tufting to happen...
 then added a couple layers of batting...
Then laid down the fabric with the marked side of the board facing up, and started stapling!
Be careful stapling though... I pretty much put a stapler through my finger, and it started oozing blood.... super gross and painful.
 But it was worth it, because I ended up with this! Don't worry, I fixed those wrinkles...
 Here's the cool part about using styrofoam poster board as opposed to wood... For the tufting, it was as easy as sticking a needle through the board to tuft instead of having to drill holes through wood...
 After the tufting and a little bit of glue, here she is! She's not ready for her new home just quite yet though.
She'll be going in the guest bedroom. Also, remember the idea for the pantry walls stemmed from not wanting to paint? Well that idea went out the window real quick when I realized I wanted to paint one wall in the guest bedroom... and Mr. Husband gave me the okay. He said as long as I don't touch the kitchen or living room, I can do whatever I want... So I agreed I wouldn't touch the living room for a couple months :) I'm seriously so excited with the idea I have in my head for the room, that I'm squeading!
**Sqeading means I'm so excited, I'm squealing and p'ing my pants. It's one of my favorite words, and I use it quite often....