
so...
I've asked him kindly to go make me some breakfast :)
All I can say is that it feels like Spring in Arizona, so I'm leaving it as is :) Anyways, when we came home from Georgia (for Christmas), I was definitely in the mood to do lots of cleaning. Particularly when it came to one closet, often referred to the "Wedding Closet". We moved in to our house a couple of weeks before the wedding and everything that had to do with the wedding was thrown in to this closet. Then, after the wedding, everything got thrown in to this closet. Over the months even more has gotten thrown in to this closet (spices, baking stuff, books, crafts, bags, household cleaning stuff, shoes, etc.). I finally decided it was time to tackle the closet, but that I was going to have some fun doing it :)
Don't you love the spice rack that's getting ready to fall?!?
 I'm embarrassed even showing these pictures....
 So... remember this post with our pantry (which by the way I had no idea people were still responding to... I have a lot of questions to answer!!!). I decided I was going to do the same with this closet. This time however, in stead of mod podging fabric on to contact paper, I was going to try spray adhesive. I've been wanting to compare the two methods....
Knowing how messy and sticky it is, I laid down plastic so it wouldn't get all over the garage floor. The process was the same really... I had precut the fabric to the height and width I needed and worked in sections. I sprayed about 12 inches worth, laid down the fabric, then sprayed, then laid down the fabric, etc.... you get the idea :)
 I wanted to try the spray adhesive because you don't need to wait (if at all) to hang it, unlike the Mod Podge way, where I let it sit overnight.
 Then you simply peel of the backing, and voila, you have a insta-cute closet :)
 Then after buying a few jars, labeling, and putting everything in just the right spot, this is how it turned out :)
 Here's a closer look.... Unfortunately you can't see the brown stripes in the pictures too well...
 I had so many cupcake liners cookie cutters, and just baking stuff in general, so one shelf was dedicated to baking :)
 I couldn't believe I had so much chocolate hiding in the closet (This isn't even half of it...lol) I am also a sprinkle junkie so of course I wanted those displayed as well!
 Here is another shot of the brown stripes... I'm obsessed with it!... so much so I'm starting another project with them in another part of the house...
 Here's another shot, with the magazine holders from last weeks post.
 and the Recipe Binders as well....
 I picked up these baskets from Michael's for 50% off. They were still a bit more than what I would have liked to have paid, but we just really needed them :( . One holds Decor items, one holds Cleaning items, and the other holds Linens (napkins, place mats, runners, tablecloth, etc.)

 Here is one more before...
 and after!


 I wanted to try the spray adhesive because you don't need to wait (if at all) to hang it, unlike the Mod Podge way, where I let it sit overnight.
 Then you simply peel of the backing, and voila, you have a insta-cute closet :)
 Then after buying a few jars, labeling, and putting everything in just the right spot, this is how it turned out :)
 Here's a closer look.... Unfortunately you can't see the brown stripes in the pictures too well...
 I had so many cupcake liners cookie cutters, and just baking stuff in general, so one shelf was dedicated to baking :)
 I couldn't believe I had so much chocolate hiding in the closet (This isn't even half of it...lol) I am also a sprinkle junkie so of course I wanted those displayed as well!
 Here is another shot of the brown stripes... I'm obsessed with it!... so much so I'm starting another project with them in another part of the house...
 Here's another shot, with the magazine holders from last weeks post.
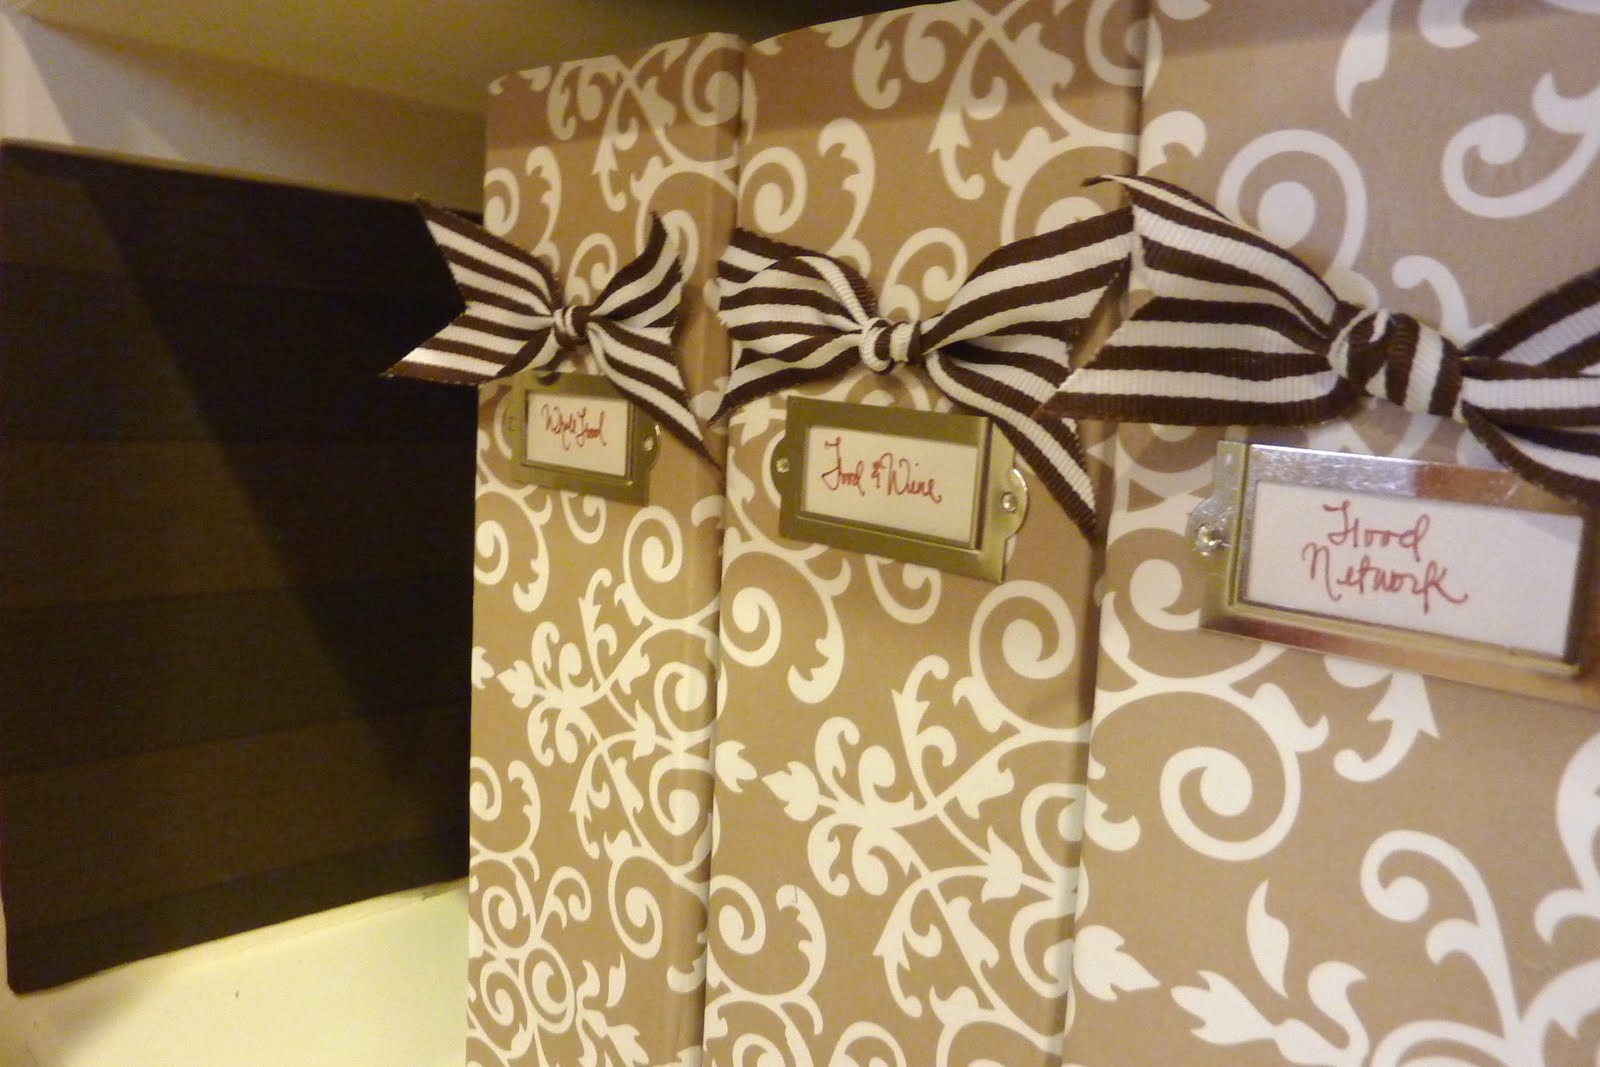 and the Recipe Binders as well....
 I picked up these baskets from Michael's for 50% off. They were still a bit more than what I would have liked to have paid, but we just really needed them :( . One holds Decor items, one holds Cleaning items, and the other holds Linens (napkins, place mats, runners, tablecloth, etc.)
 Here is one more before...
 and after!
And now to compare the two methods:
Overall, I like the Mod Podge method better. The Spray Adhesive method is definitely faster, but I thought the Mod Podge produced much better results. The Fabric wouldn't always stick with the spray adhesive, and the corners especially wouldn't stick as well. The fabric in our pantry (which used Mod Podge) is still holding up so well, with no corners peeling off. But regardless, both methods work so now you can try either one :)
Now I'm off to paint brown stripes in my closet... and I'm scared to death!!! But I found a freakin awesome paint at Home Depot that I'm dying to share. It just came out on their shelves and I can't wait to use it... I'll be back soon!


